


There’s a reason people leave the nail salon walking a little taller after a good pedicure. It’s not just about polish — a professional pedicure at salon in Washington follows a precise routine that improves foot health, prevents infection, and delivers that smooth, salon-fresh finish you can’t easily get at home.
Whether you’re a client wondering what happens behind the pedicure station or an aspiring nail technician learning the craft, here’s a breakdown of the seven steps licensed professionals follow every time.
Why a Professional Pedicure Is Different
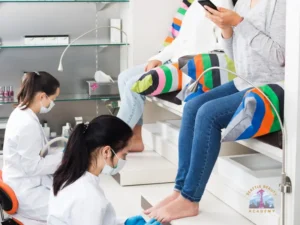
A DIY foot soak at home might feel relaxing, but it rarely matches the technique, hygiene standards, and tools used by a trained nail technician.
In Washington State, licensed nail techs are required to follow strict sanitation protocols set by the Department of Licensing, which is one of the biggest reasons people choose a salon pedicure treatment over an at-home version.
From proper foot soaking Washington techniques to safe callus removal, every step is designed to protect your skin and nails while giving you a polished result.
Step 1: Consultation and Sanitation Setup
Before any water touches your feet, a professional pedicure Washington salon session starts with a quick consultation. The nail technician checks for any visible skin conditions, ingrown nails, or infections that might need special care or a referral to a podiatrist.
At the same time, all tools are pulled from sterilized, sealed pouches, and the pedicure bowl or liner is sanitized according to state board requirements. This step is easy to overlook as a client, but it’s the foundation of a safe nail salon hygiene practice.
Step 2: Removing Old Polish
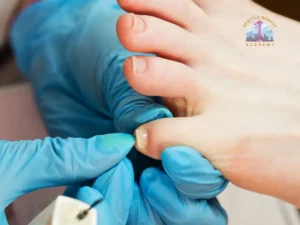
Old polish is removed completely using a gentle, non-drying remover. This gives the technician a clear view of the natural nail bed, so they can spot any ridges, discoloration, or damage before moving forward. It also ensures the new polish will apply smoothly and last longer without lifting.
Step 3: Foot Soak
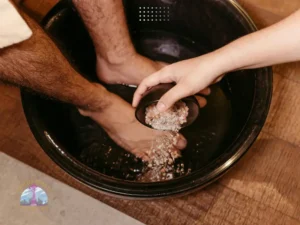
Next comes the part most people associate with a pedicure — the warm foot soak. This step softens the skin and cuticles, making the rest of the service easier and more comfortable. Many salons add Epsom salts or a light aromatic soak to help with circulation and relaxation.
Proper foot soaking Washington salons use is timed carefully; soaking too long can actually dry out the skin, so technicians usually keep it to about five to ten minutes.
Step 4: Nail Shaping and Cuticle Care
Once nails are clean and softened, the technician trims and shapes each nail, typically straight across with slightly rounded edges to help prevent ingrown toenails.
Cuticles are gently pushed back and trimmed only where necessary — over-trimming cuticles is a common mistake in home pedicures, and it’s one reason a licensed nail tech pedicure tends to look more polished and last longer without irritation.
Step 5: Callus and Dead Skin Removal
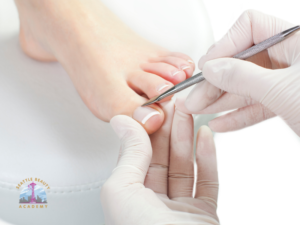
This is where a professional pedicure really sets itself apart. Using a foot file, pumice stone, or electric callus remover, the technician smooths away rough, dead skin from the heels and balls of the feet.
In Washington, licensed estheticians and nail techs are trained to do this safely, avoiding tools that could nick the skin or spread bacteria — something that’s become a bigger safety concern with certain at-home devices and some unlicensed operators. Read more to know How to Clean Nails the Professional Way
Step 6: Massage and Moisturizing
After the calluses are smoothed away, most salon pedicure treatment packages include a foot and lower-leg massage using a rich lotion or oil. This step isn’t just a luxury add-on — it boosts circulation, relaxes the muscles, and preps the skin to better absorb moisture. It’s often the moment clients say is their favorite part of the whole service.
Step 7: Polish Application
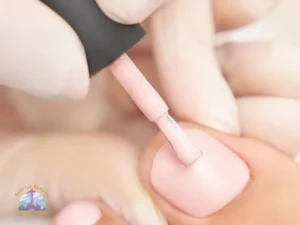
Finally, toes are separated, nails are cleaned one last time with a dehydrator or alcohol wipe to remove any oil residue, and polish is applied in thin, even coats — usually a base coat, two coats of color, and a top coat for shine and durability. Some salons finish with a quick-dry treatment so clients aren’t stuck waiting around with wet polish.
What This Means for Aspiring Nail Technicians
If you’ve ever watched a pedicure and thought, “I could see myself doing this as a career,” Washington’s beauty industry has plenty of room for skilled, licensed nail technicians.
The Nail Tech Program at Seattle Beauty Academy teaches all seven of these steps — and much more — through hands-on training with live clients, so students graduate ready to sit for the Washington State licensure exam with real confidence, not just classroom theory.
A Graduate’s Story
That confidence shows up in real reviews from real graduates. Phi Co Hoang Nguyen, a Seattle Beauty Academy graduate, shared a five-star review after passing the Washington State licensing exam on the first try for both the practical and written sections:
“I just got my LICENSE!! Even though I’m kind of a slow person, I still achieved on my first try for both practical and written. Thank you Seattle Beauty Academy that give me education and reference me to a job. Thank you again best school ever!”
Stories like this reflect what Seattle Beauty Academy aims to deliver for every student: small class sizes, hands-on practice, and an educational experience that translates directly into real-world licensure and job placement — no matter where a student is starting from.

Ready to Learn the Craft?
Whether you’re booking your next pedicure appointment or considering a career change into the beauty industry, understanding these seven steps highlights just how much skill and training go into a truly professional service.
If you’re in the Seattle area and curious about turning this into a career, Seattle Beauty Academy’s Nail Technology program is a great place to start.
FAQs
1. How long does it take to learn how to do a professional pedicure at salon standards? Most students in a structured Nail Tech Program can learn the full 7-step pedicure sequence within the first few weeks of hands-on training, though building speed and confidence with live clients usually takes a few months of practice.
2. What’s the hardest step for new nail techs to master? Many students find callus removal and cuticle care the trickiest at first, since both require a light touch to avoid nicking the skin. Instructors typically spend extra time on these steps before students work on real clients.
3. Do I need my own tools and supplies as a nail tech student? It depends on the school. At Seattle Beauty Academy, students are guided on which tools to invest in and trained on proper sanitation between uses, which is a core part of passing the Washington State licensing exam.
4. What does the Washington State nail technician licensing exam actually test? The exam covers both a written portion on sanitation, safety, and theory, and a practical portion where you demonstrate skills like nail shaping, cuticle care, and pedicure technique in front of an evaluator. Learn more the Washington State requirements for manicure license
5. Will I get real client experience before graduating? Yes. Programs like Seattle Beauty Academy’s Nail Tech Program include live client practice, so students perform pedicures, manicures, and other services on real people under instructor supervision before they graduate and test for licensure.